
About me

Who am I?
- Tech writer for Chrome Apps and Extensions
- Chrome Developer Relations Team
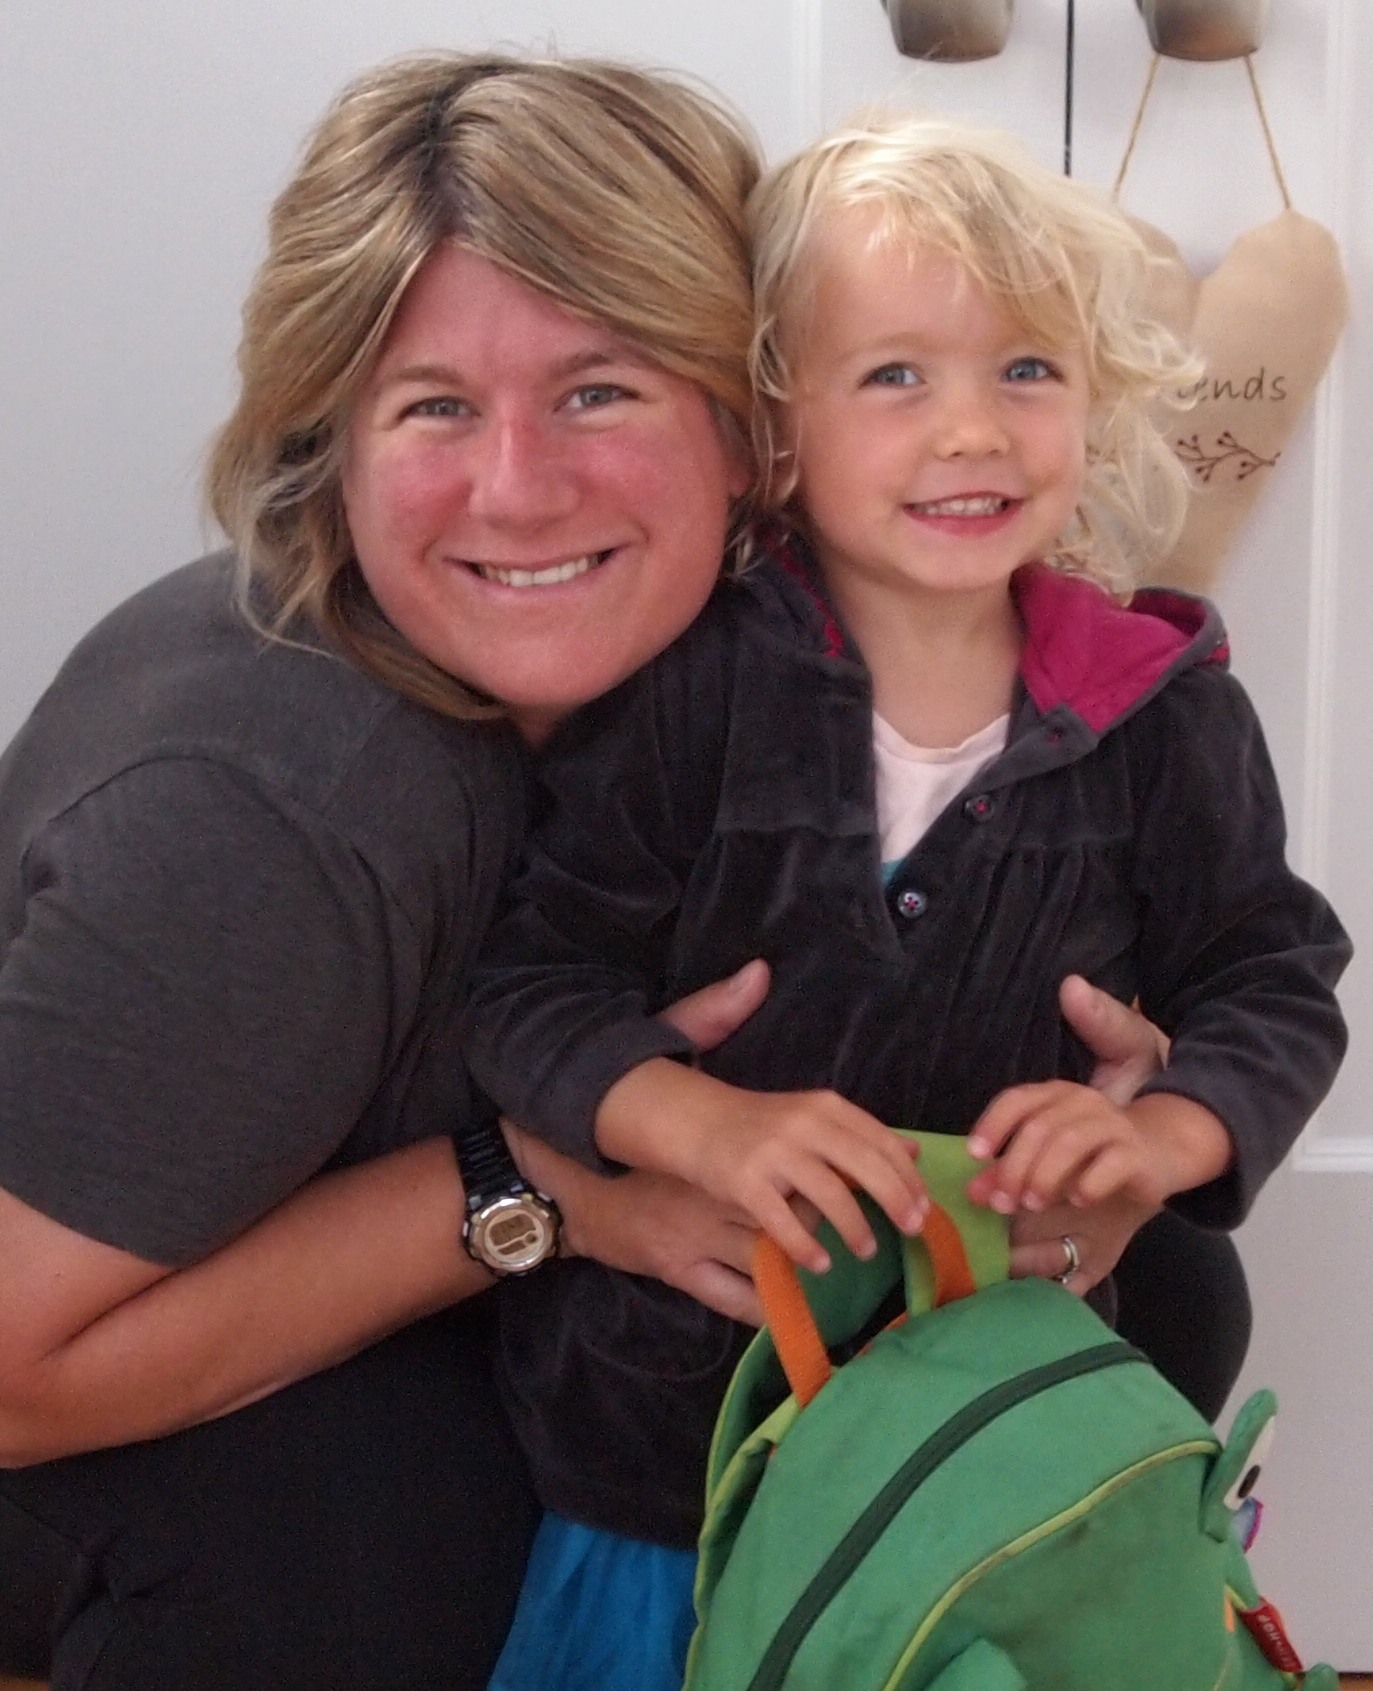
 Meggin Kearney
Why am I here?
- Talk about Chrome Apps
- Get you to build your own Chrome Apps
- Support women in developer community
5 things you'll learn
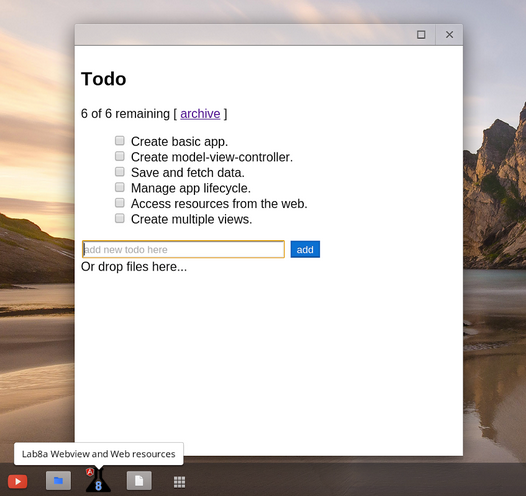
How Chrome Apps look and behave
What technologies are used to build them
What really cool stuff you can build
How to build your own app
What we're still figuring out
Native appearance and behavior

No browser chrome
Lives outside the browser
Main focus on app tasks
Works offline by default
User controls app lifecycle
Launch locally

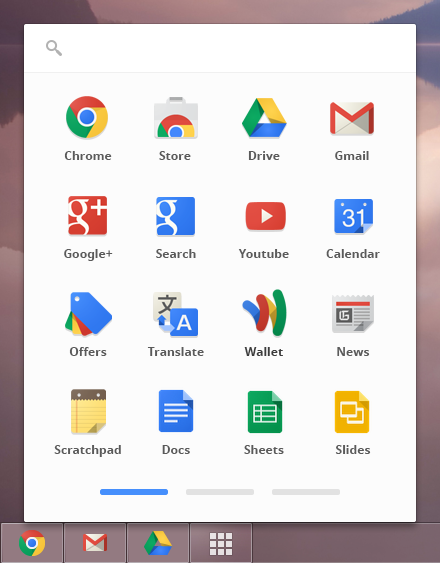
The App Launcher:
- Works on ChromeOS and Windows
- Mac OSX and Linux coming soon
Let's launch some apps now...
Web development with key changes
Web platform support
- Write apps in HTML, JavaScript, and CSS3
- Install once and works across platforms
- Automatic updates
- Web security
Key differences
- Disabled 'browser' features
- Serious Content Security Policy
- Use <webview> tag instead of <iframe>
- Access to capabilities normally forbidden to web apps
Build cool apps with Chrome APIs
![]() Network Sockets API:
Fly a
Parrot AR.Drone.
Network Sockets API:
Fly a
Parrot AR.Drone.
![]() File System APIs:
Import music from desktop to
music player
AND sync across clients using Google Drive.
File System APIs:
Import music from desktop to
music player
AND sync across clients using Google Drive.
![]() Alarms and Notifications APIs:
Set an alarm and send
notifications
to user's system tray.
Alarms and Notifications APIs:
Set an alarm and send
notifications
to user's system tray.
![]() Media Gallery API:
Access
media
stored on a user's device (with user's permission, of course).
Media Gallery API:
Access
media
stored on a user's device (with user's permission, of course).
![]() Serial API:
Use Arduino
to create an
LED toggle.
Serial API:
Use Arduino
to create an
LED toggle.
Ready to build our own app

Step 1: Create basic app
- The manifest.json describes meta-informaton about the app.
- The background script, main.js, sets up how your app responds to system events.
- The view, index.html, is what your user sees.
{
  "manifest_version": 2,
  "name": "My first app",
  "version": "1",
  "app": {
    "background": {
      "scripts": ["main.js"]
    }
  }
}
chrome.app.runtime.onLaunched.addListener(function() {
    chrome.app.window.create('index.html',
      {width: 500, height: 309});
  });
<html>
  <head>
      <meta charset="utf-8">
      <title>Hello DevFestW
  </head>
  <body>
      <h1>Hello, DevFestW!</h1>
  </body>
</html>
Step 2: Create model-view-controller
- Download Angular script and save it as angular.min.js.
- Add a simple stylesheet: todo.css
- Change your index.html to use Angular and new controller.
- Add the controller:
function TodoCtrl($scope) {
  $scope.todos = [
    {text:'learn angular', done:true},
    {text:'build an angular app', done:false}];

  $scope.addTodo = function() {
    $scope.todos.push({text:$scope.todoText, done:false});
    $scope.todoText = '';
  };

  $scope.remaining = function() {
    var count = 0;
    angular.forEach($scope.todos, function(todo) {
      count += todo.done ? 0 : 1;
    });
    return count;
  };

  $scope.archive = function() {
    var oldTodos = $scope.todos;
    $scope.todos = [];
    angular.forEach(oldTodos, function(todo) {
      if (!todo.done) $scope.todos.push(todo);
    });
  };
}
Step 3: Save and fetch data
- Request permission to use storage in your manifest.json.
- Change your controller.js to get the Todo list from syncable storage:
// Notice that chrome.storage.sync.get is asynchronous
chrome.storage.sync.get('todolist', function(value) {
  // The $apply is only necessary to execute the function inside Angular scope
  $scope.$apply(function() {
    $scope.load(value);
  });
});

// If there is saved data in storage, use it. Otherwise, bootstrap with sample todos
$scope.load = function(value) {
  if (value && value.todolist) {
    $scope.todos = value.todolist;
  } else {
    $scope.todos = [
      {text:'learn angular', done:true},
      {text:'build an angular app', done:false}];
  }
}

$scope.save = function() {
  chrome.storage.sync.set({'todolist': $scope.todos});
};
- Update index.html
to call
save()whenever data changes.
Step 4: Manage app lifecycle
Let's change our app to save Todo items in storage only if the onRestarted event is fired.
- Change
main.js to listen for
onRestartedevent:
chrome.app.runtime.onLaunched.addListener(function() {
  // normal launch initiated by the user, let's start clean.
  runApp(false);
});

chrome.app.runtime.onRestarted.addListener(function() {
  // if restarted, try to get the transient saved state
  runApp(true);
});

function runApp(readInitialState) {
  chrome.app.window.create('index.html',
    {id: 'mainwindow', width: 500, height: 309},
    // the create callback gets a reference to the AppWindow obj
    function(win) {
      // when the callback is executed, the DOM is loaded but no script was
      // loaded yet. So, let's attach to the load event.
      win.contentWindow.addEventListener('load', function() {
        if (readInitialState) {
          win.contentWindow.setInitialState();
        } else {
          win.contentWindow.clearInitialState();
        }
      });
    });
}
- Update
controller.js
to only store a new Todo item when
onRestartedevent fired.
Step 5: Access resources from the web
Now we will change our app to render the content of URLs in a WebView when a user clicks on a link.
First, we need to follow these codelab instructions to add drag-and-dropped support.
- Request a new permission, "webview", in the manifest.json.
- Add a <webview> tag and link to index.html:
<!-- in TODO item: -->
<a ng-show="todo.uri" href="" ng-click="showUri(todo.uri)">(view url)
<!-- at the bottom, below the end of body: -->
<webview></webview>
- Set an appropriate width and height to the webview tag in todo.css:
webview {
  width: 100%;
  height: 200px;
}
- Add a new method to
controller.js
to show the
content:
$scope.showUri = function(uri) {
  var webview=document.querySelector("webview");
  webview.src=uri;
};
Step 6: Create multiple views
Create second view:
- Remove the droptext
divfrom index.html. - Create a new view with the drop area: droparea.html:
<html ng-app ng-csp>
  <head>
    <script src="angular.min.js">
    <script src="droparea.js">
    <link rel="stylesheet" href="todo.css">
    <title>File Drop
  </head>
  <body ng-controller="DropCtrl" ng-class="dropClass">
    <h2>Drop Area
    <div>{{dropText}}
  </body>
</html>
Update JavaScript:
- Move all drop-related functionality from controller.js to a new file, droparea.js.
- In the controller.js, add the call to create a new window:
chrome.app.window.create('droparea.html',
  {id: 'dropArea', width: 200, height: 200 },
  function(dropWin) {
    dropWin.contentWindow.$parentScope = $scope;
  });
Load, launch, and publish
Load app:
- Open the apps and extensions management page.
- Load your app:
- Launch app for the first time from the management page.
- Now try launching the app from the app launcher.
Publish in Chrome Web Store:
- Open the Chrome Web Store developer dashboard.
- Compress your app:
- Upload your app:
- Add the required assets and meta information.
- Publish your app:
Yay, we're done

From then on, when anything went wrong with a computer, we said it had bugs in it.
What developers want
- Ability to authenticate apps
- Read the contents of a directory
- Effective monetization and distribution
- Cross-platform support
- Clarity on what is a Chrome app (and what isn't it)
- Better testing story
- Cohestive understanding of storage options
What about mobile?
Cordova + Chrome
- Chrome-Cordova github repository
- Improving performance is key.
Doc improvements:
- Integrate codelab in docs and cover both AngularJS and JavaScript.
- Identify common use cases for windows and write 'how-tos'.
- Improve documentation around app events and app lifecycle.
More feedback please: chromium-apps group
Tools and resources
- Chrome Apps samples repository
- Chrome Apps developer docs
- Chrome Apps plugin for Sublime
- Todo list codelab source
- Chrome Apps Google Developer Live Sessions
- Chrome Developer Tools
<Thank You!>
Source: https://github.com/Meggin/devfestw
Public: http://chrome-apps-devfestw.appspot.com/#1
